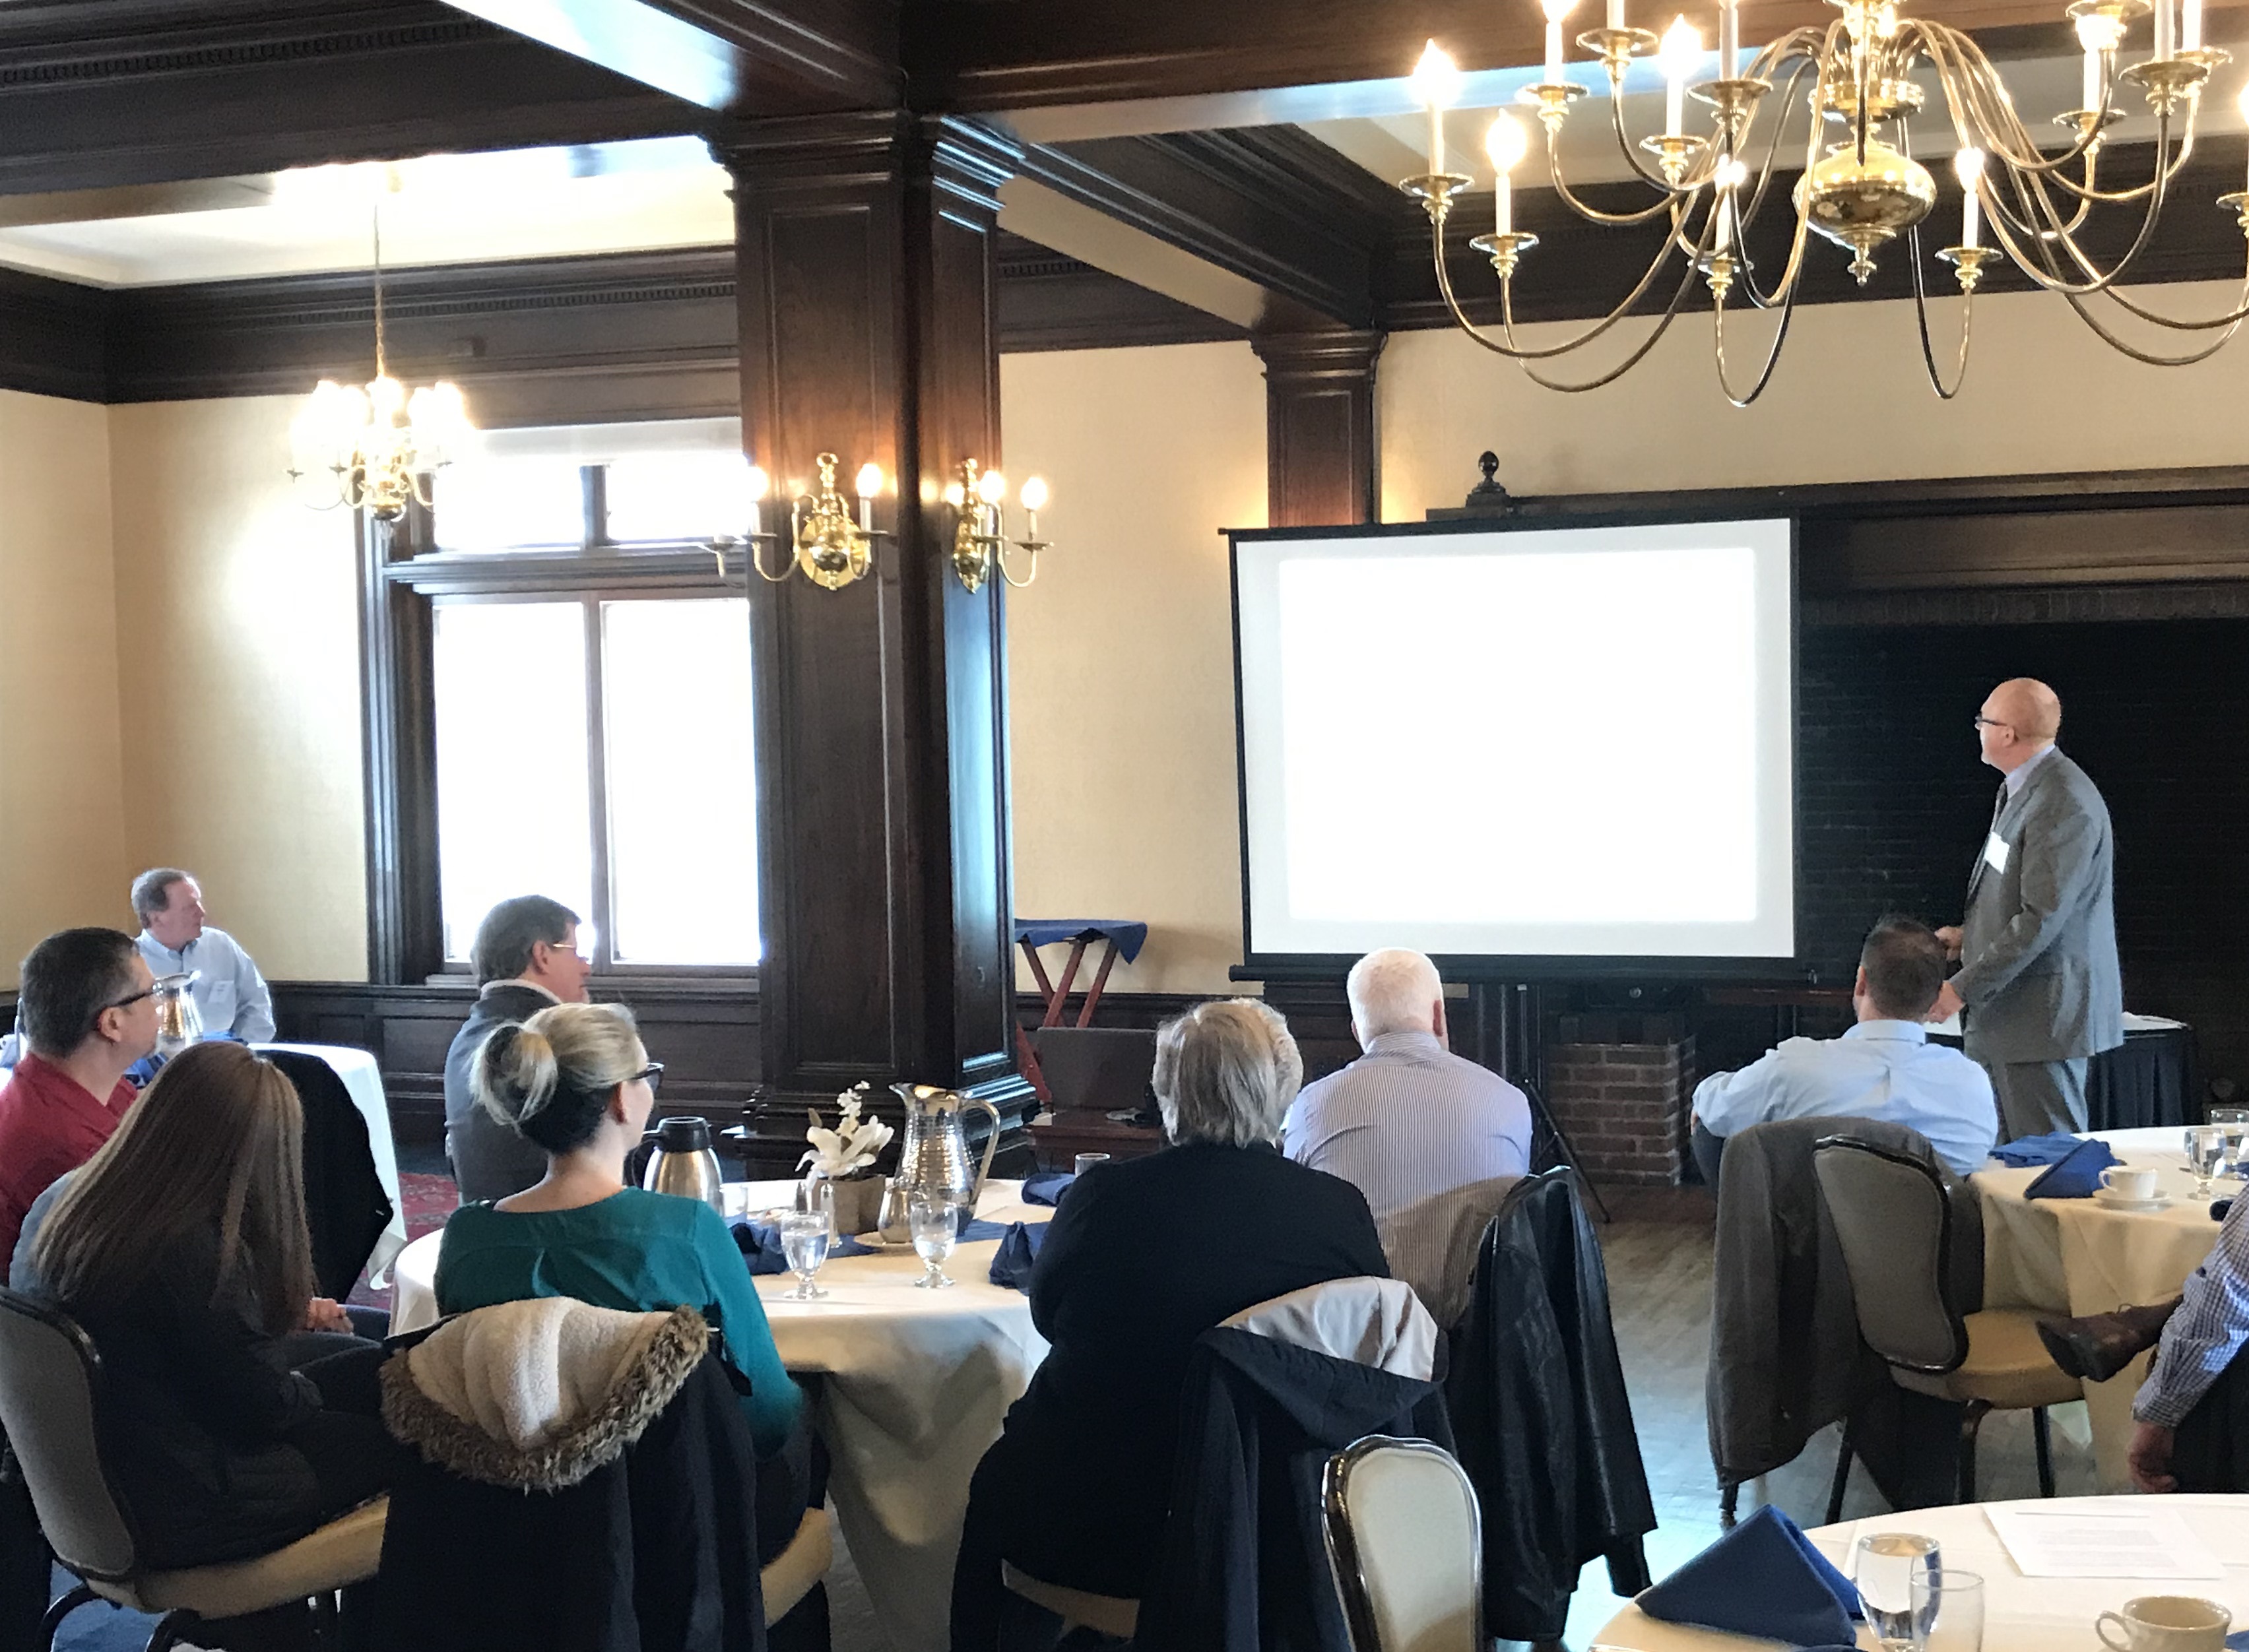
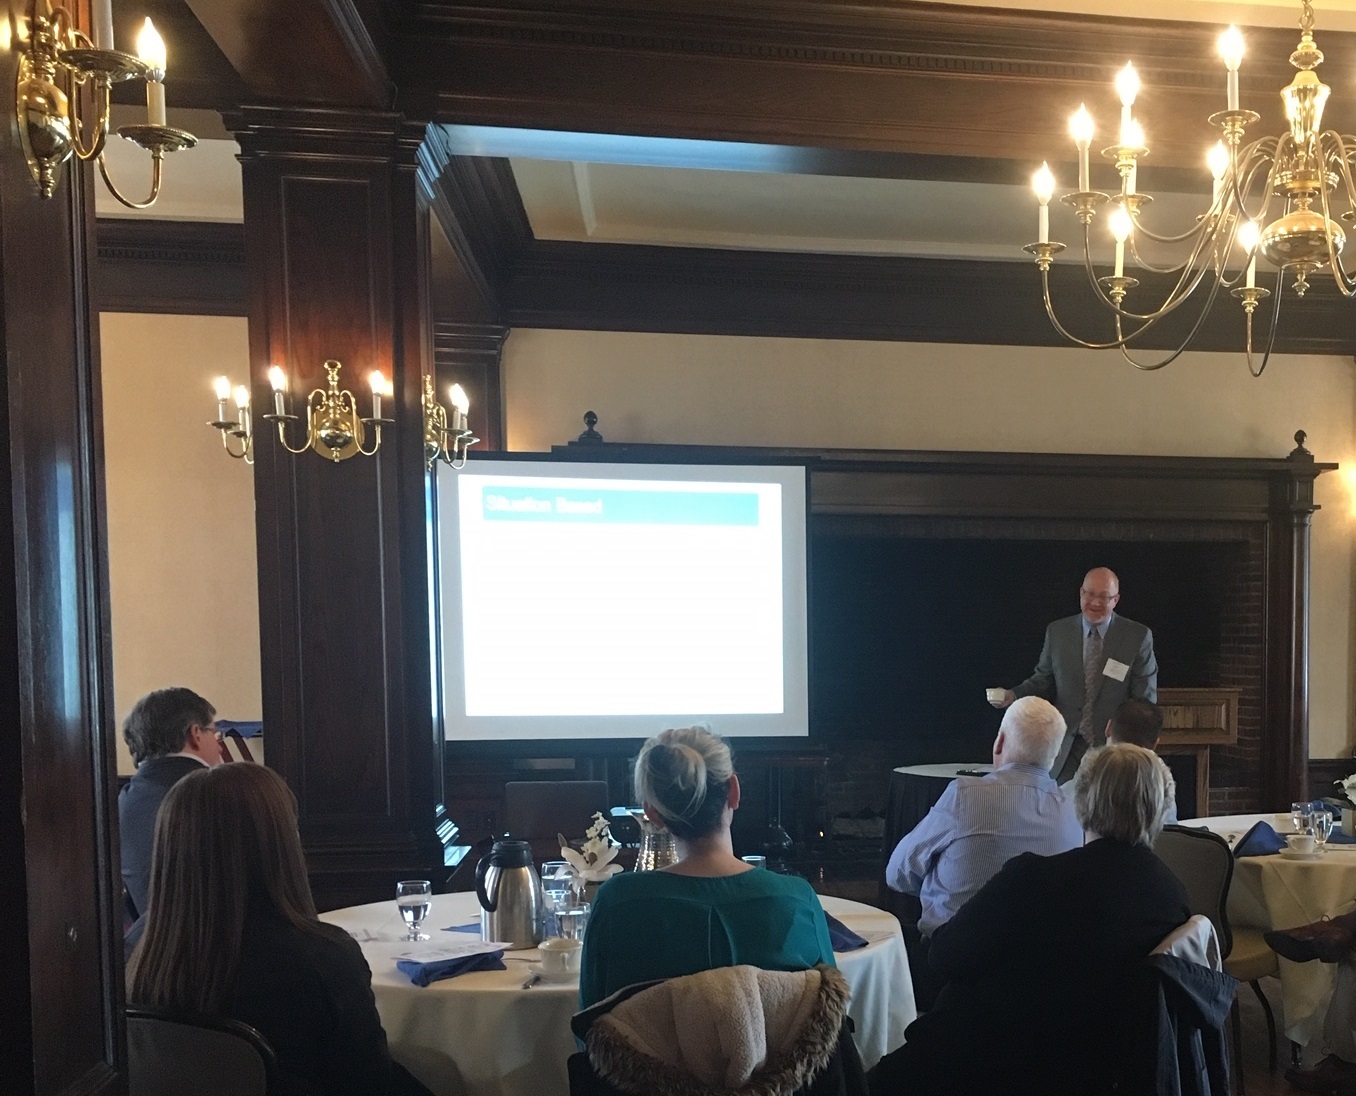
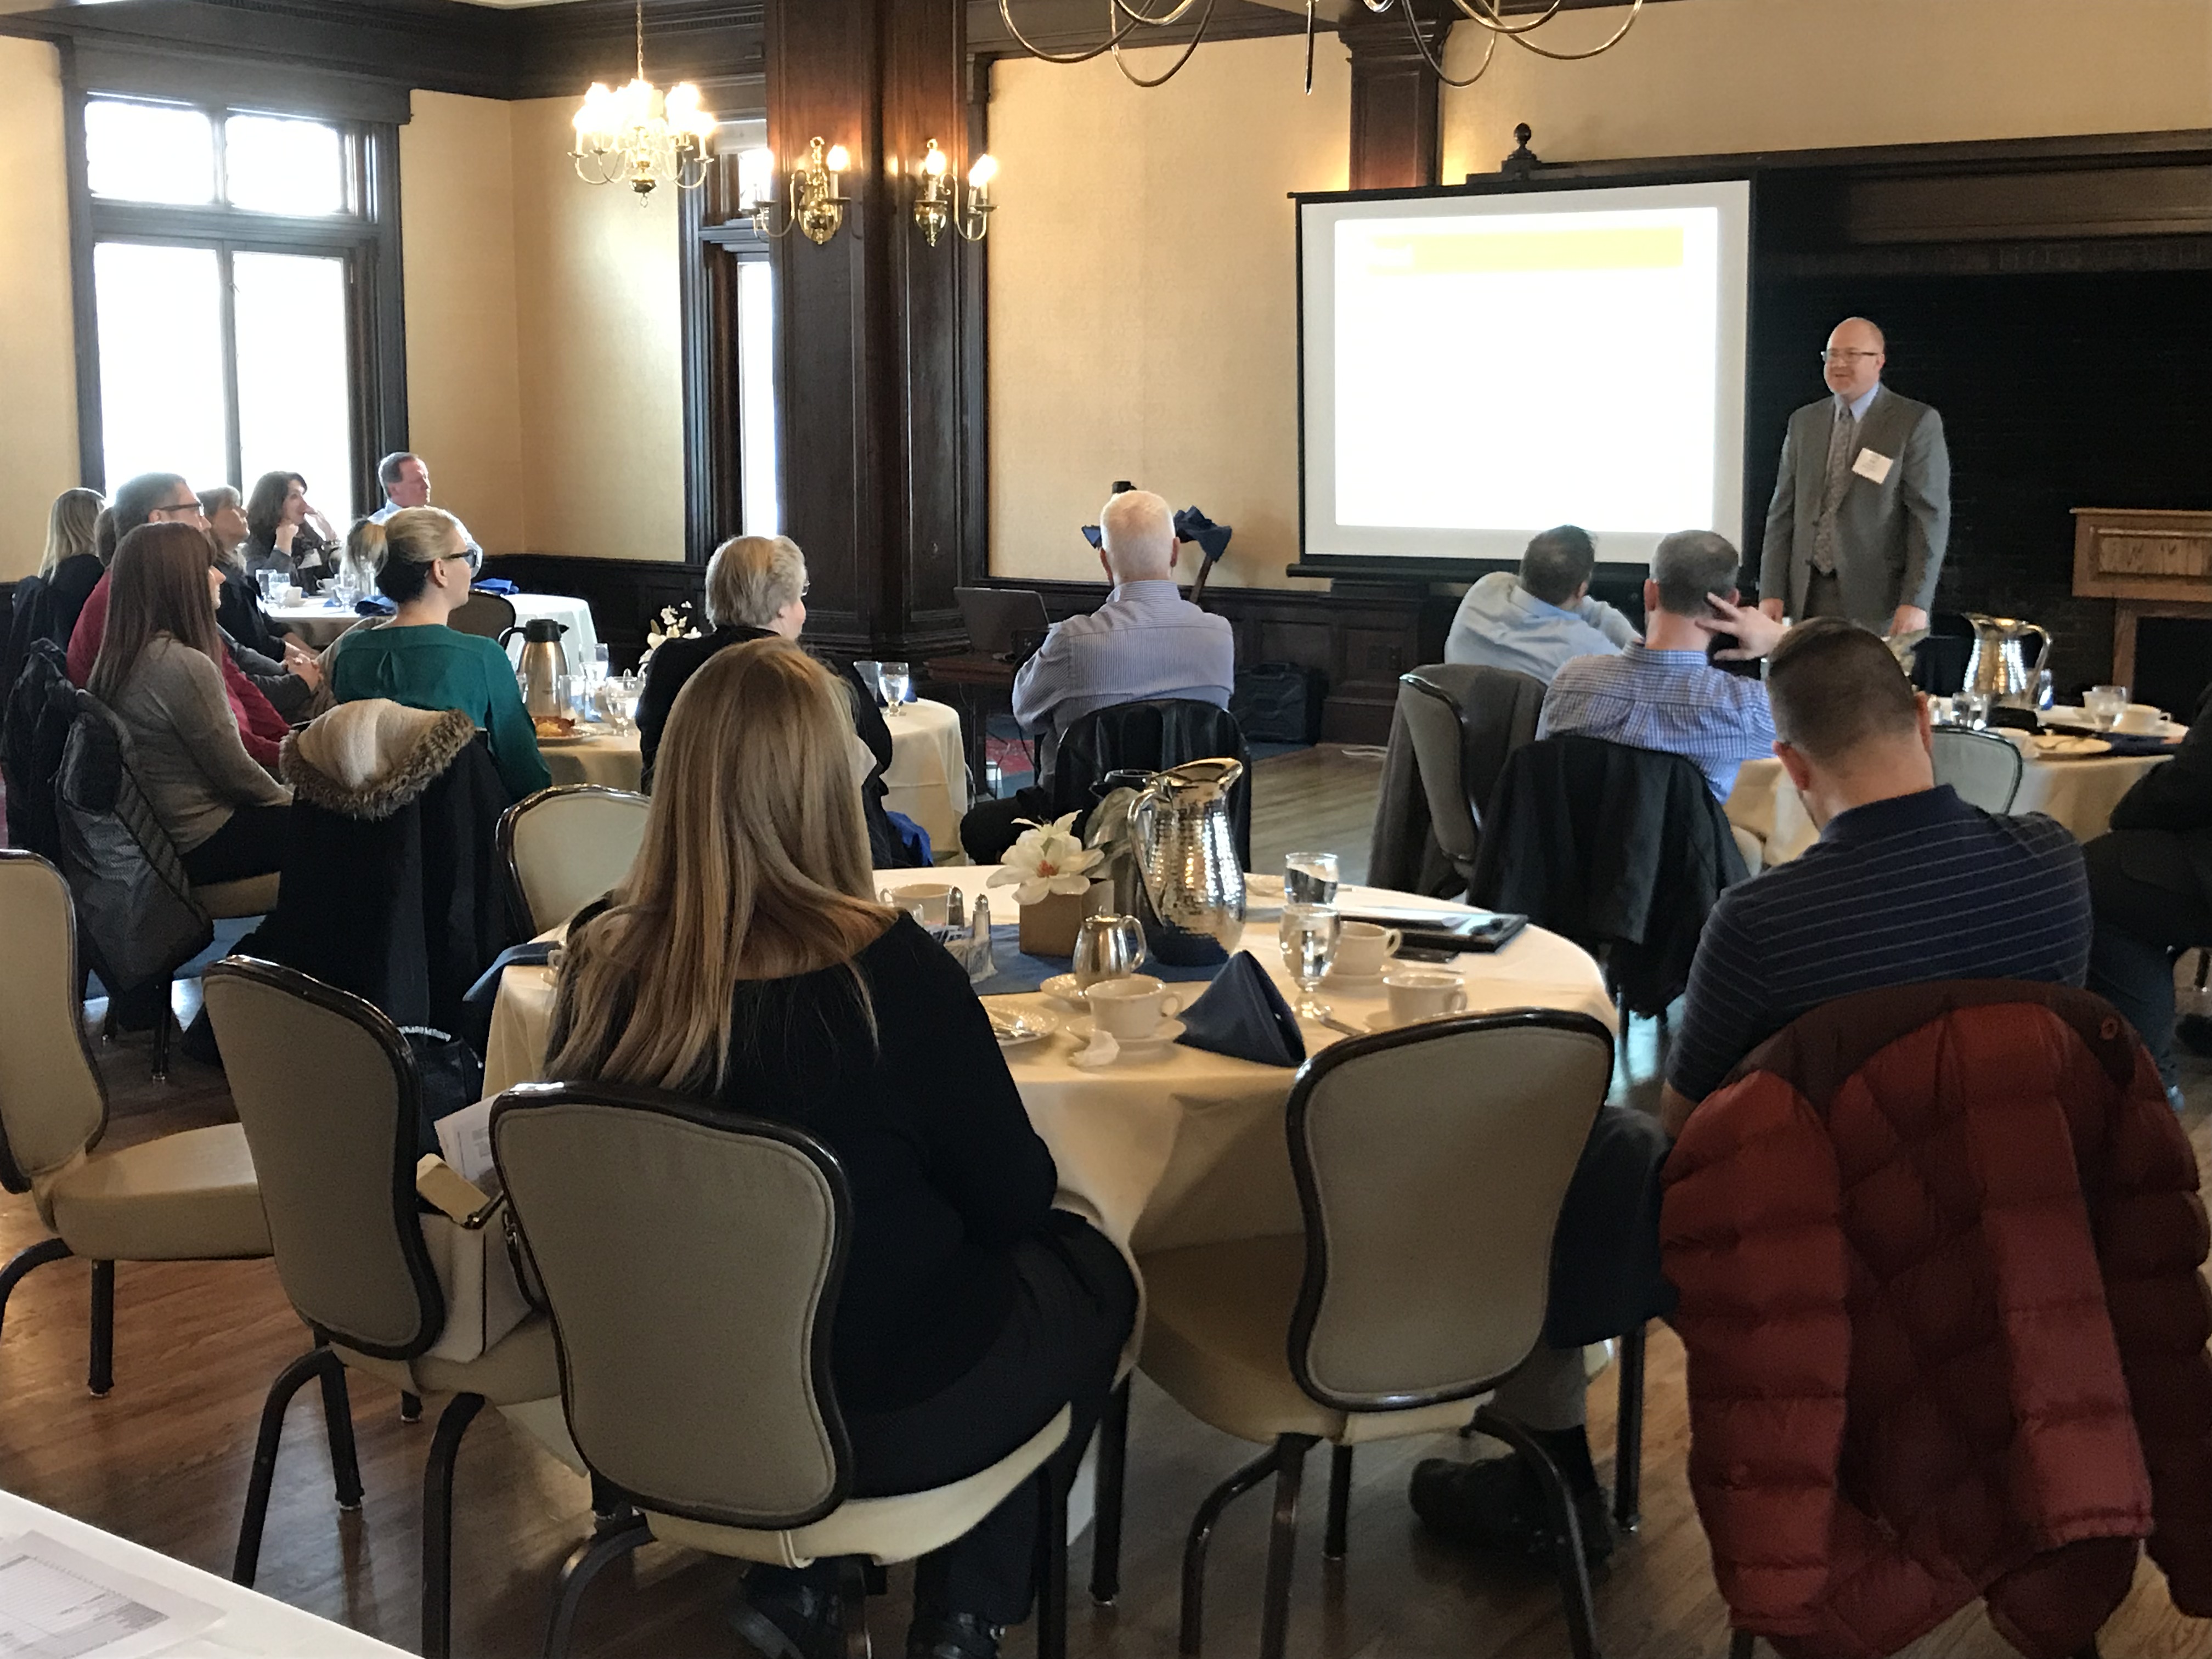
View the full image Speaker: Bob Hoogendam PHOTO CREDIT: Adam Thompson View the full image Date: 3/14/19 PHOTO CREDIT: Adam Thompson View the full image 19 in attendances PHOTO CREDIT: Adam Thompson View the full image Thank you to the Spokane Club for providing the venue. PHOTO CREDIT: Adam Thompson


